Yoga For Shoulder Pain: 10 Best Yoga Asanas to Ease Your Pain
Table of Contents
- 1. 10 Most Effective Yoga Poses For Shoulder Pain
- 1.1. 1. Balasana Or Child’s Pose
- 1.2. 2. Marjariasana Or Cat Pose
- 1.3. 3. Gomukhasana Or Cow Face Pose
- 1.4. 4. Sukhasana Parivrtti Or Seated Twist Pose
- 1.5. 5. Purvottanasana Or Upward Plank Pose Or Reverse Plank
- 1.6. 6. Setu Bandha Sarvangasana
- 1.7. 7. Savasana Or Corpse Pose
- 1.8. 8. Bitilasana Or Cow Pose
- 1.9. 9. Neck Rolls
- 1.10. 10. Warrior Pose Or Virabhadra Asana
- 2. Conclusion
Yoga is a preventive exercise routine that includes asanas or poses for the maintenance of the overall health of a person. In this blog, we will be discussing in detail the various yoga for shoulder pain that will relieve shoulder and neck pain. By doing the right exercises under professional supervision, your supportive muscles around the neck will strengthen, reducing pain.
The blog also includes simple exercises that can be done in a workplace quickly. Most of the time, neck and shoulder pain arises due to sitting in front of the computer for long hours or because of a bad posture.
Therefore, performing the remedial exercises there and then is a must to avoid long-term issues. Read on to learn more about the causes and solutions of shoulder pain and releasing neck stiffness.
10 Most Effective Yoga Poses For Shoulder Pain
1. Balasana Or Child’s Pose
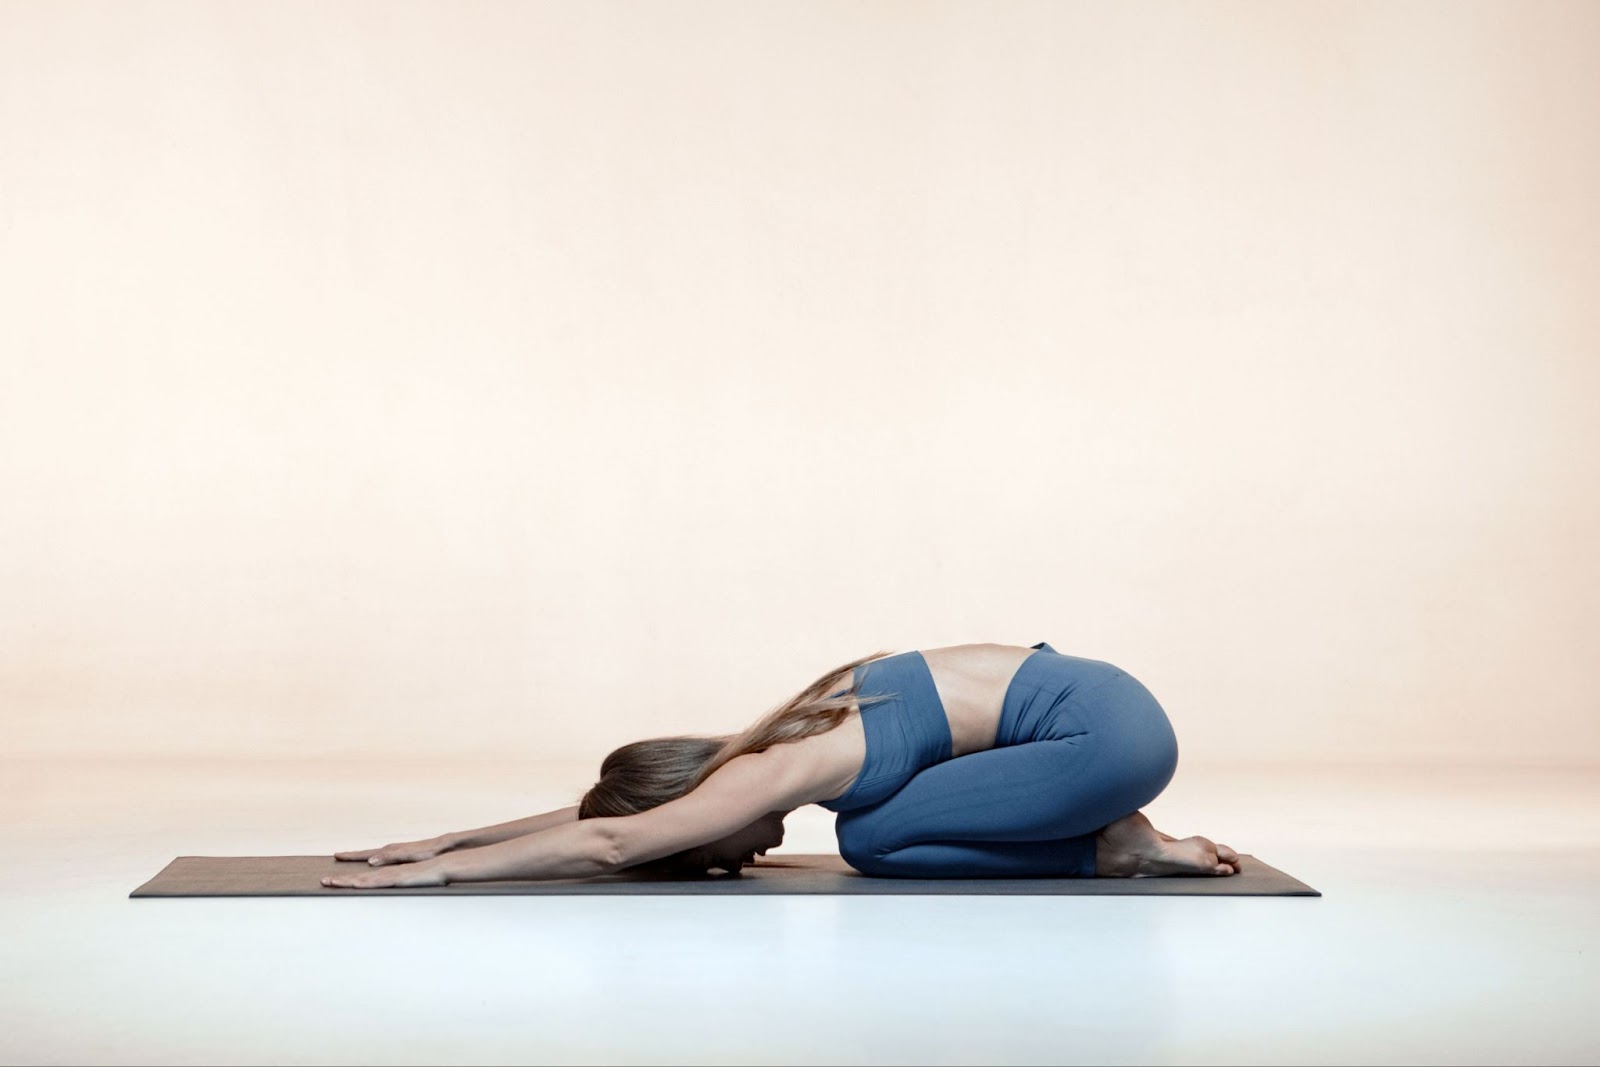
For those who are feeling their upper body is stiff, such yoga poses for shoulder pain can be tried. A fairly simple pose for beginners, the stretch releases tension trapped in your shoulders instantly. Back muscles are stretched in an instant and you will feel relaxed. Follow these steps to perform the child’s pose:
-
First of all, get to the table pose.
-
After that, lower your hips and put your forehead on the floor while exhaling.
-
Then, spread your knees slightly.
-
Put your fists or palms under your forehead.
-
Press your belly against your thighs while inhaling.
-
After that, exhale deeply and repeat it for one minute.
-
Finally, release from the pose and start over.
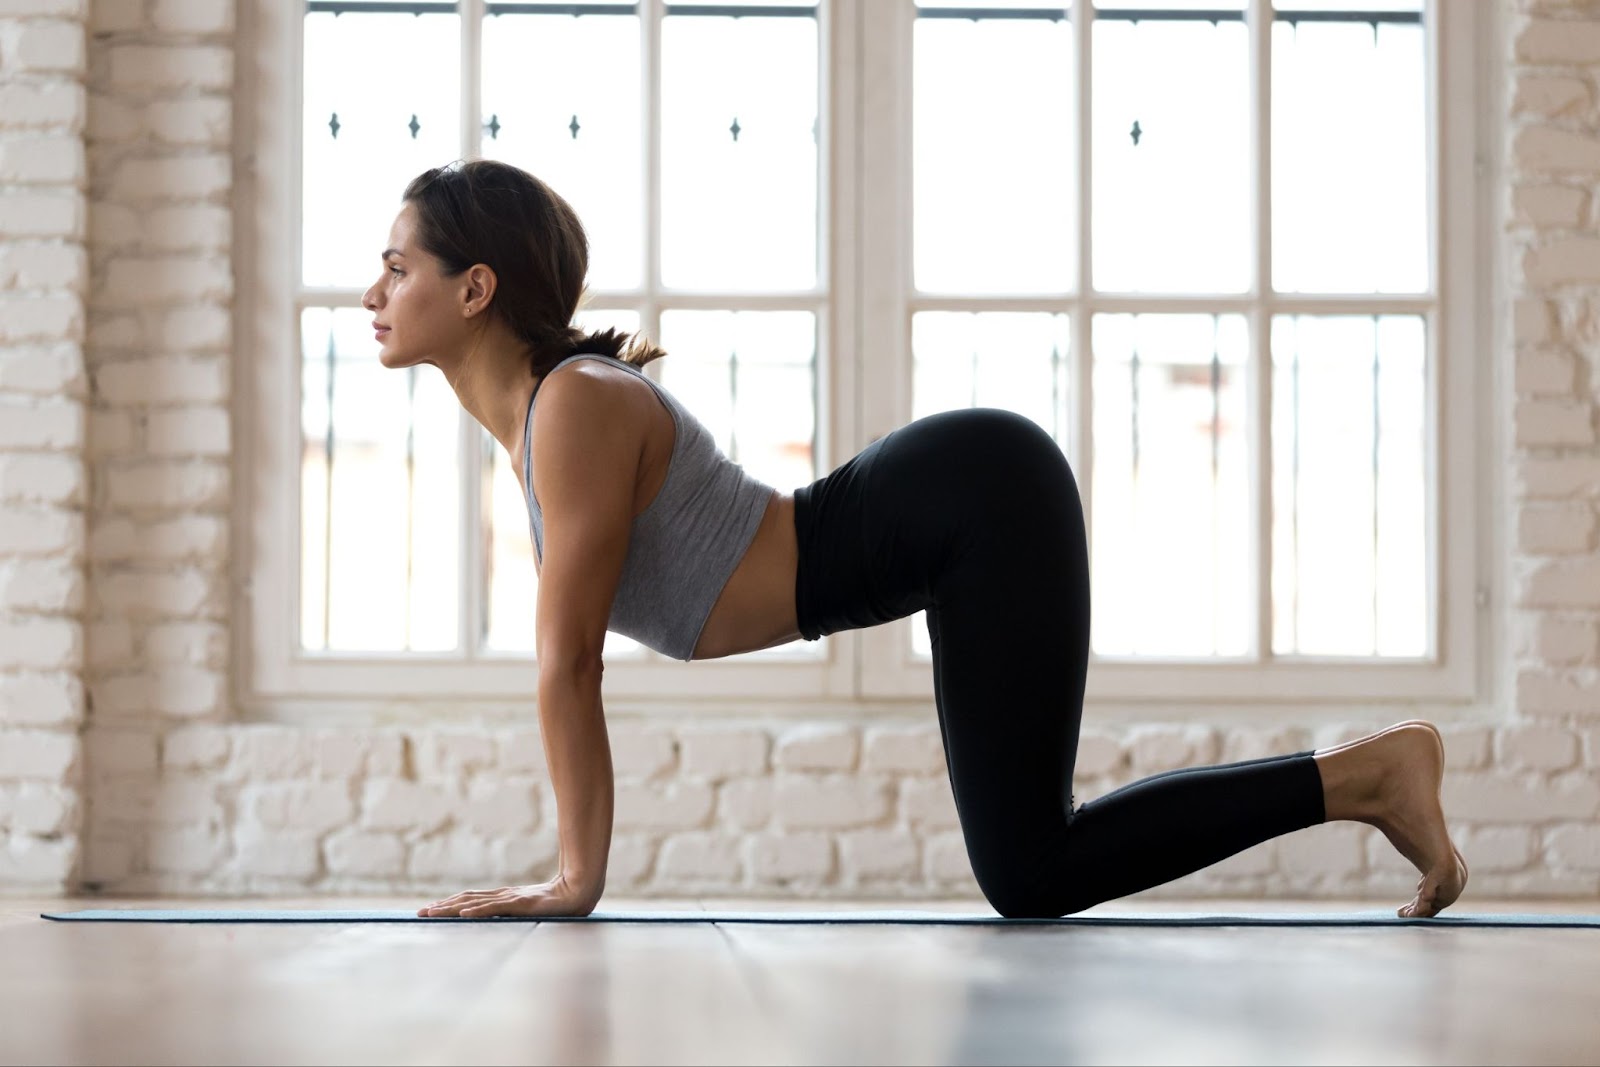
2. Marjariasana Or Cat Pose
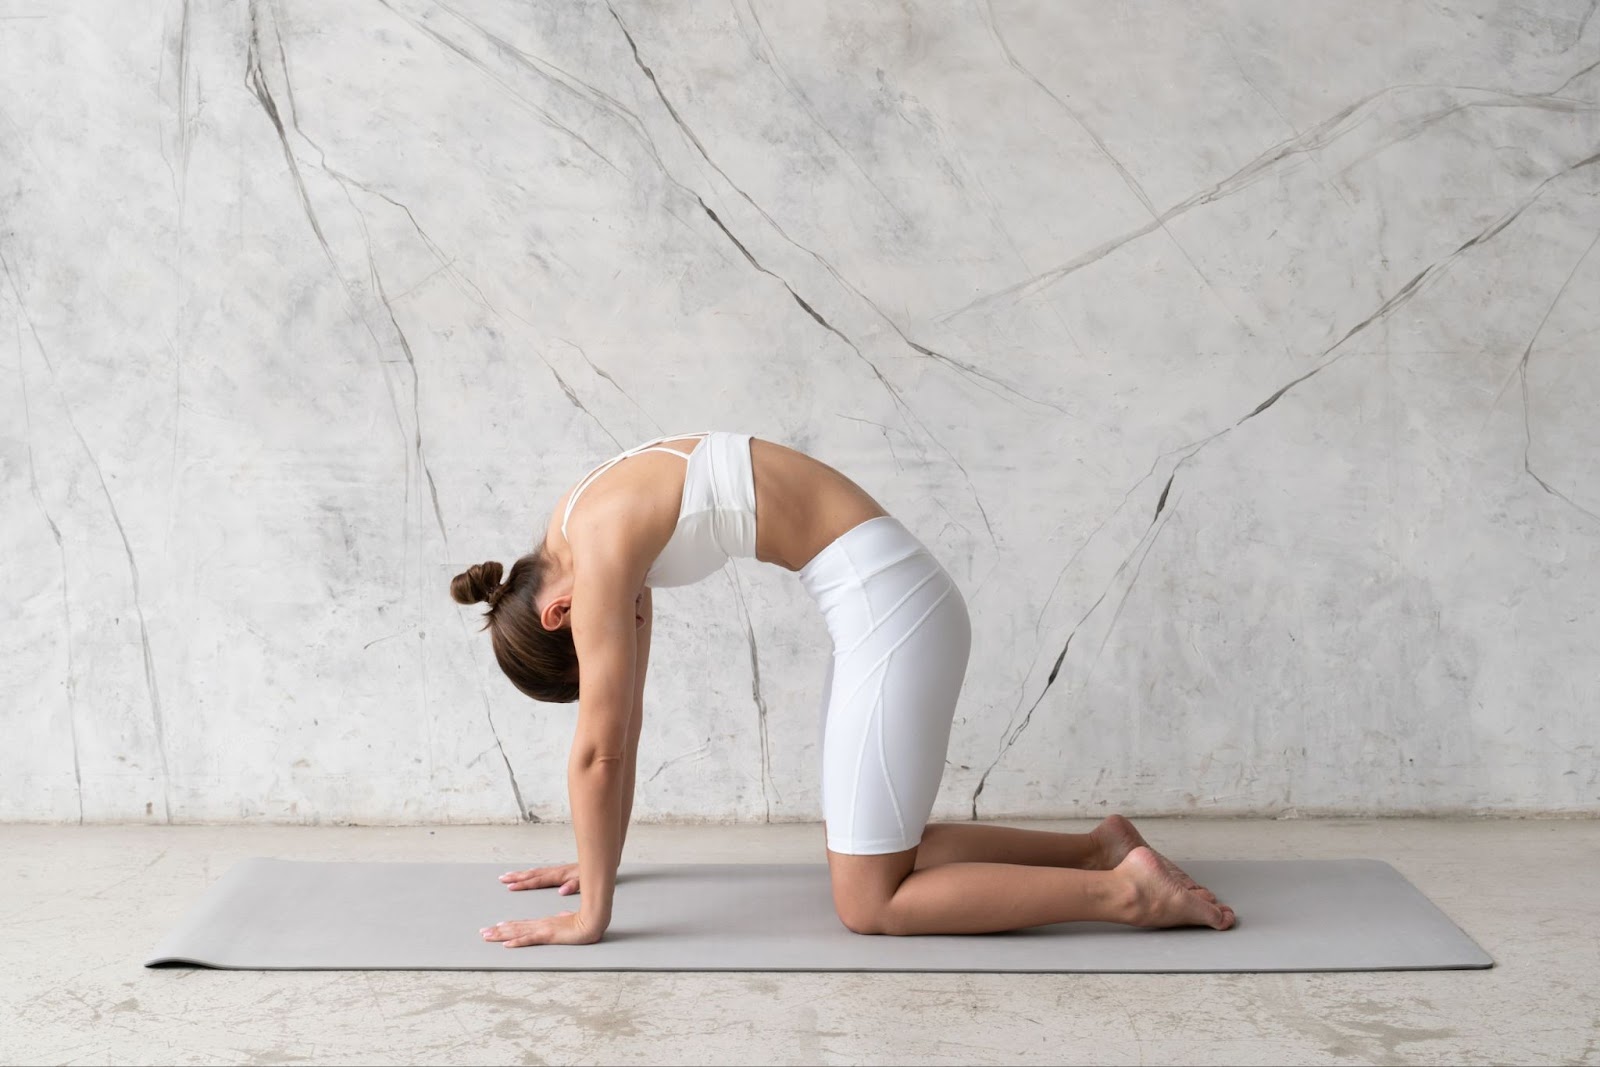
For enhanced flexibility and stability, marjariasana is highly recommended. Not only will you get a strong core but also give your shoulders some stability. You will also feel that your lower back is getting stronger and your walk will automatically get faster. Here are the ways to perform the cat pose:
-
Firstly, start the asana by forming a tabletop position.
-
Secondly, ensure that your arms are perpendicular to the floor.
-
Place your hands under your shoulders.
-
Take a deep breath and exhale while looking straight ahead.
-
Raise your tailbone, push your belly downward, tilt your head backward, and raise your chin.
-
Arch the back upward for a Cat Pose.
-
Then dip the spine downward for a Cow Pose.
-
Alternate between the two poses for maximum strength in the shoulders.
-
Finally, repeat the process 5 to 6 times.
3. Gomukhasana Or Cow Face Pose
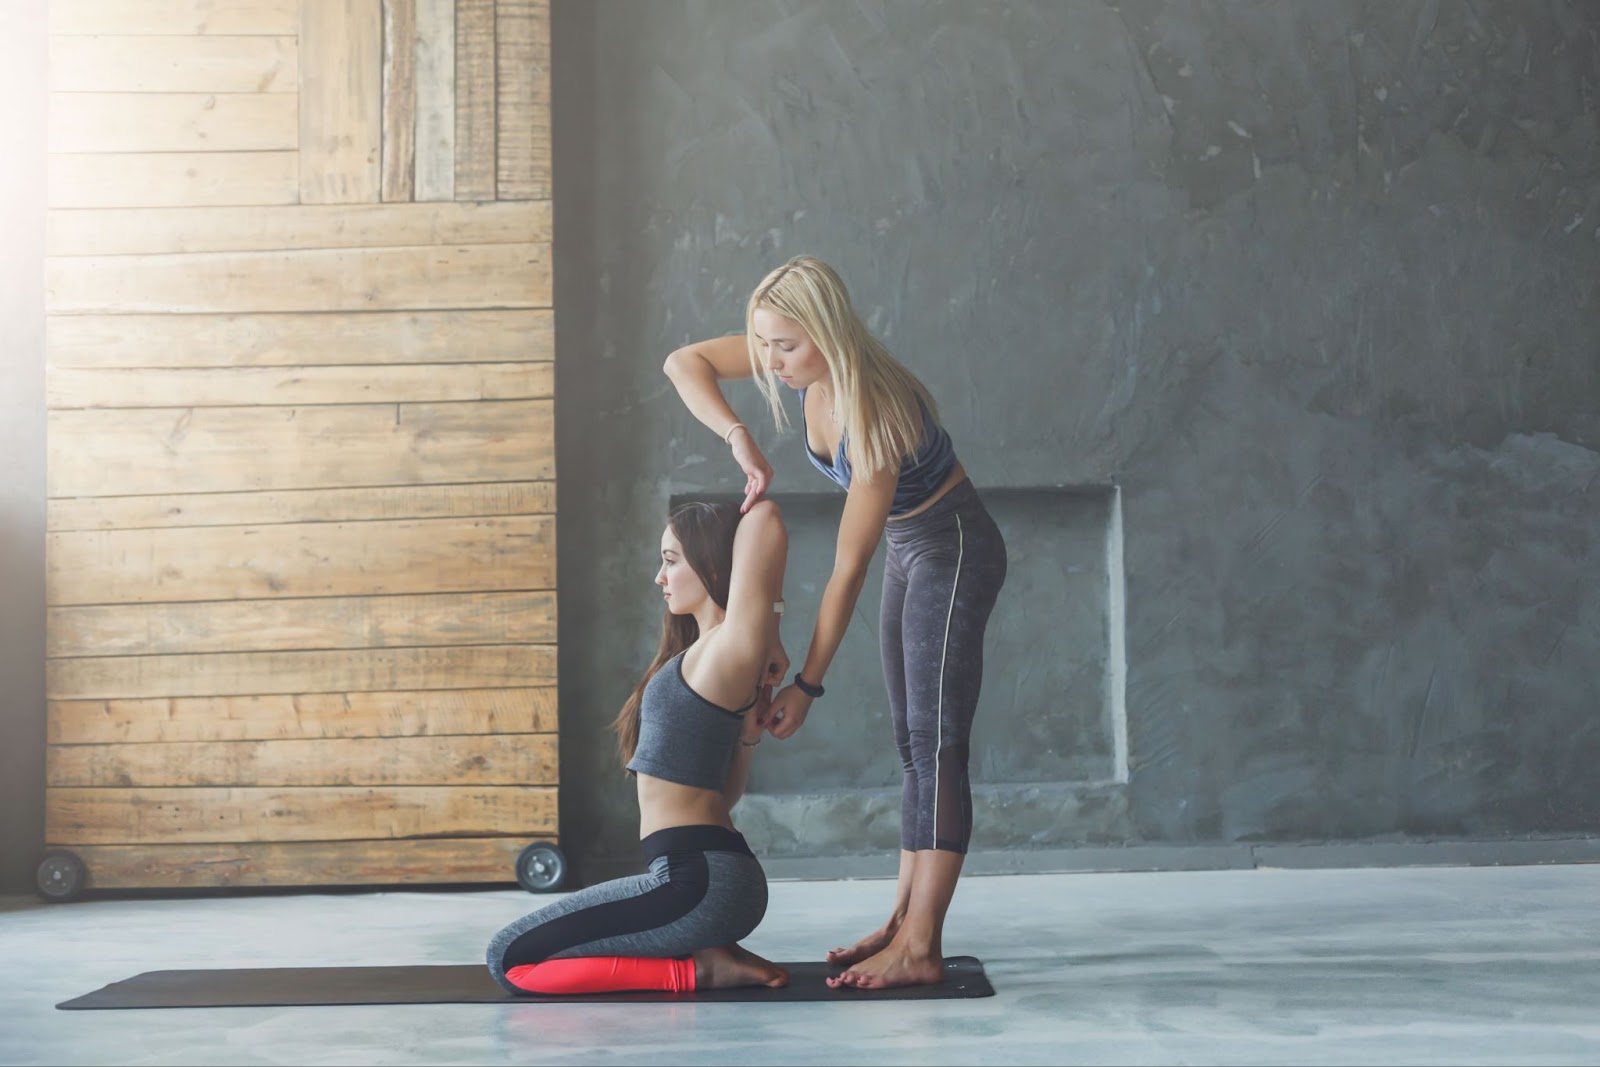
By doing the Gomukhasana, your shoulder muscles will get tightened yet regain their original flexibility. The arm that is raised upwards will achieve a complete shoulder flexion and an external rotation. The arm that is facing downward will undergo full shoulder internal rotation as well as extension. Follow the step-by-step guide to perform it:
-
First of all, start with the Staff pose or Dandasana.
-
Bend your right knee by bringing the left foot sideward and putting it under the right knee.
-
After that, put your right knee on top of your left knee.
-
Stretch your arms and lengthen your spine while inhaling.
-
Then, rotate your right shoulder and place your arm behind the back. Bend your left hand and touch your right fingertips.
-
Ensure that your fingers are hooking together.
-
After that, open your chest and place your shoulder ribs on your back.
-
Maintain this position while inhaling and exhaling slowly.
-
Finally, release your hands and change your leg's position to repeat the process.
4. Sukhasana Parivrtti Or Seated Twist Pose
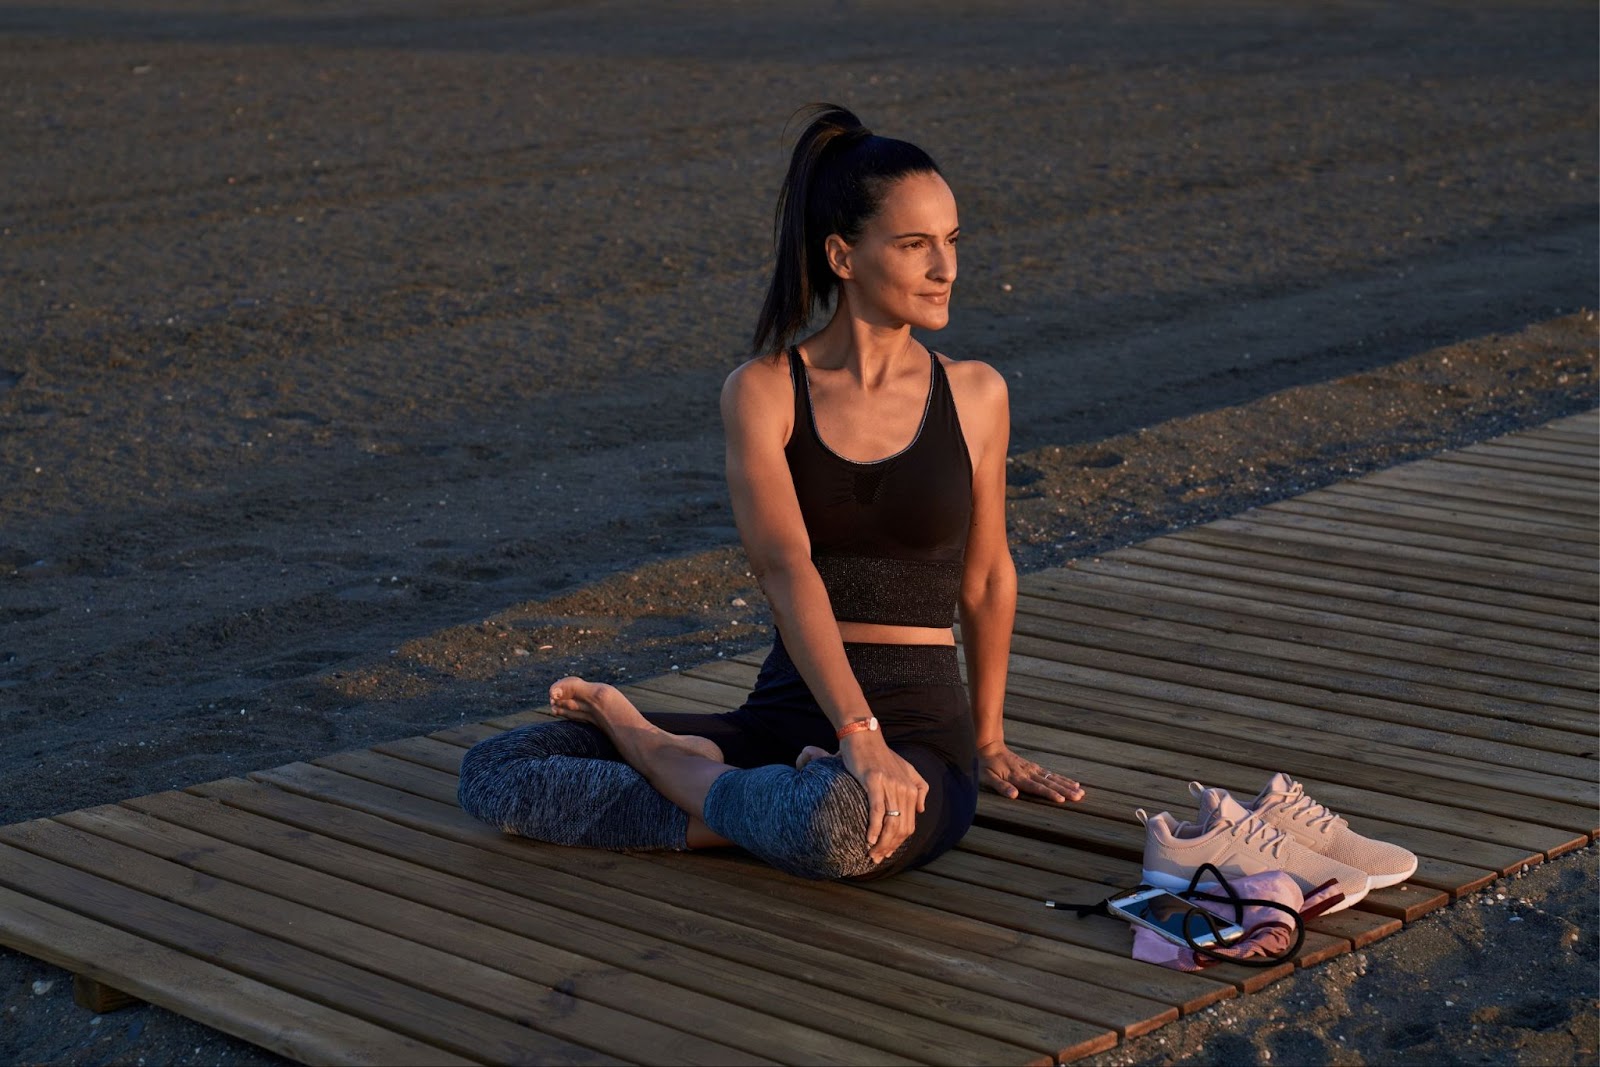
This pose is based on an easy sitting posture. This asana is beneficial for strengthening the spine. The best part is that you can do this while you are sitting on the floor and it won’t take more than 5 minutes to complete 10 sets. By the end of it, you will be able to turn your neck way more than usual and your head will feel lighter. Here are the steps to perform the Seated Twist pose:
-
Start with the Sukhasana Pose by extending your legs forward and sitting on the floor.
-
After that, straighten your spine and breathe normally.
-
Place the right palm to the right of your hips.
-
Then, turn your body to the right while exhaling.
-
Move your other hand to the right knee and twist your torso to the right while exhaling.
-
Pull your head upwards while twisting.
-
Maintain the exact posture and breathe slowly.
-
After that, inhale slowly while turning your body toward the left and maintain a proper sitting position.
-
Finally, repeat the whole process on your left side to complete one round.
5. Purvottanasana Or Upward Plank Pose Or Reverse Plank
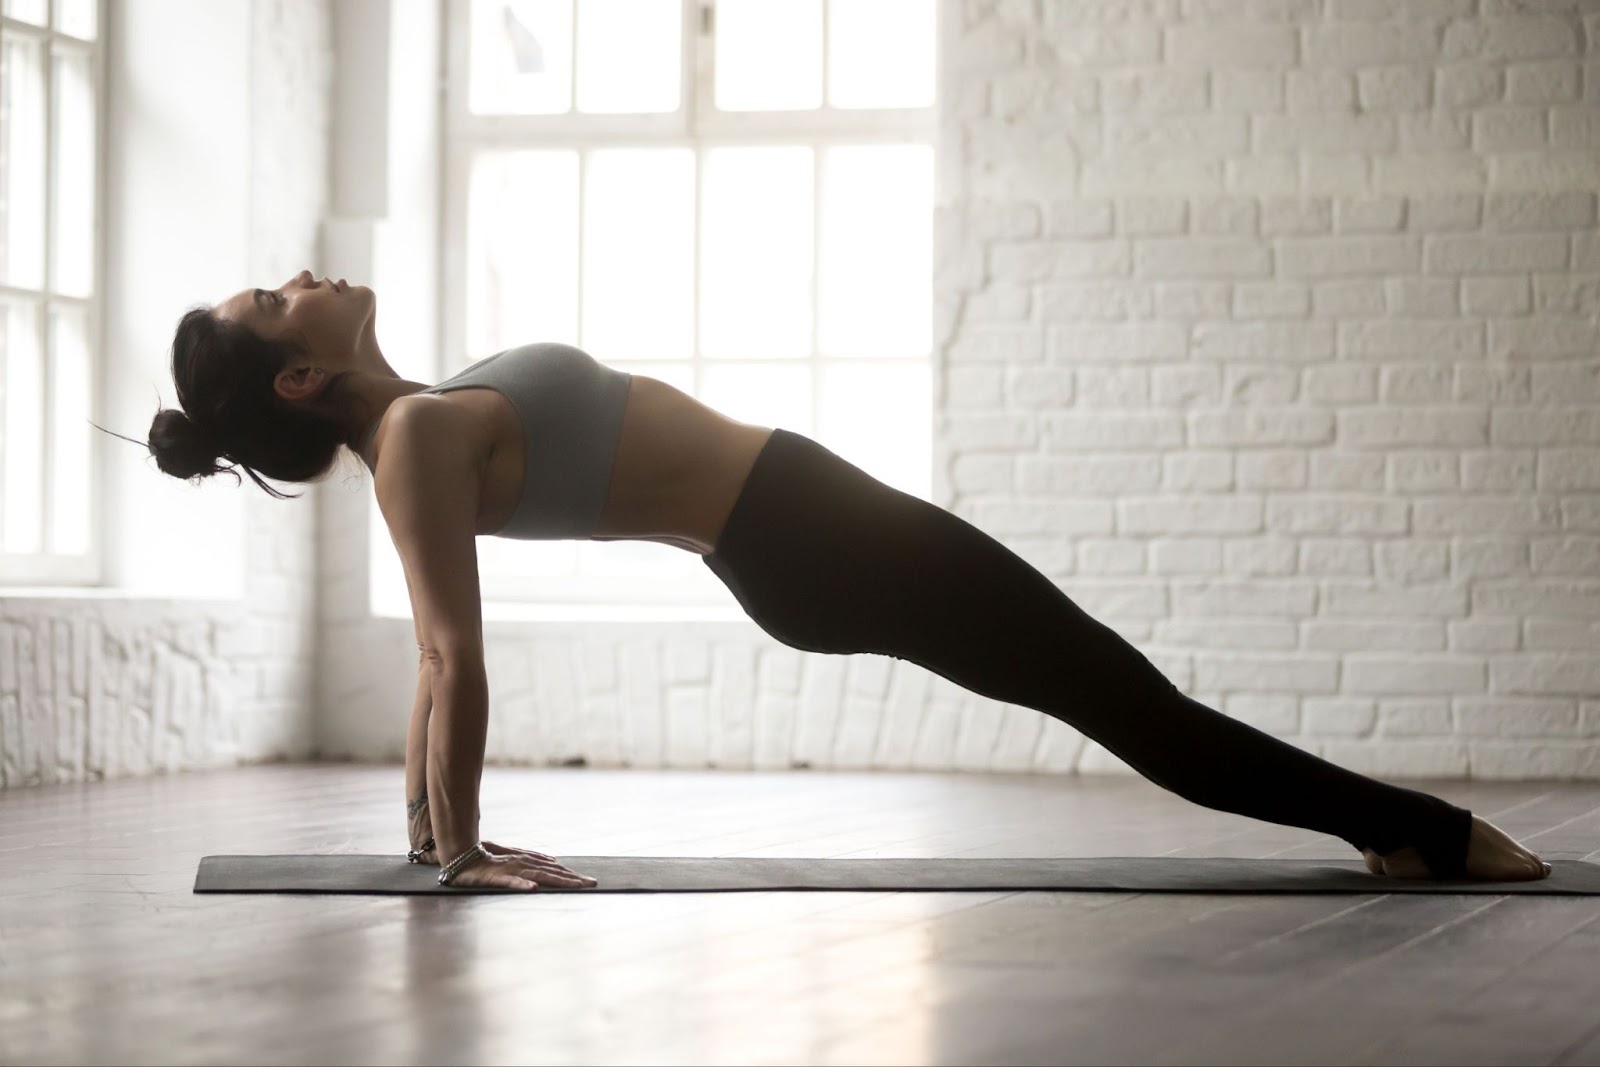
For stronger triceps and back, this asana is highly effective. This asana is particularly good for strengthening shoulder blades as it stretches the front of your shoulders. Also called the upward plank pose, this asana will improve your posture and is extremely beneficial for the core.
-
First of all, sit with your legs extended and lay flat on the floor.
-
After that, stretch your torso towards the ceiling and lift your hips.
-
Place your hands firmly on the mat behind your back for a complete stretch.
-
Then, lift your hips higher while inhaling and keep your chin to the chest level.
-
Lift your chest up and bring your head backward.
-
Stay in the same posture until 5 to 10 breaths.
-
Finally, lower your hips while exhaling.
6. Setu Bandha Sarvangasana
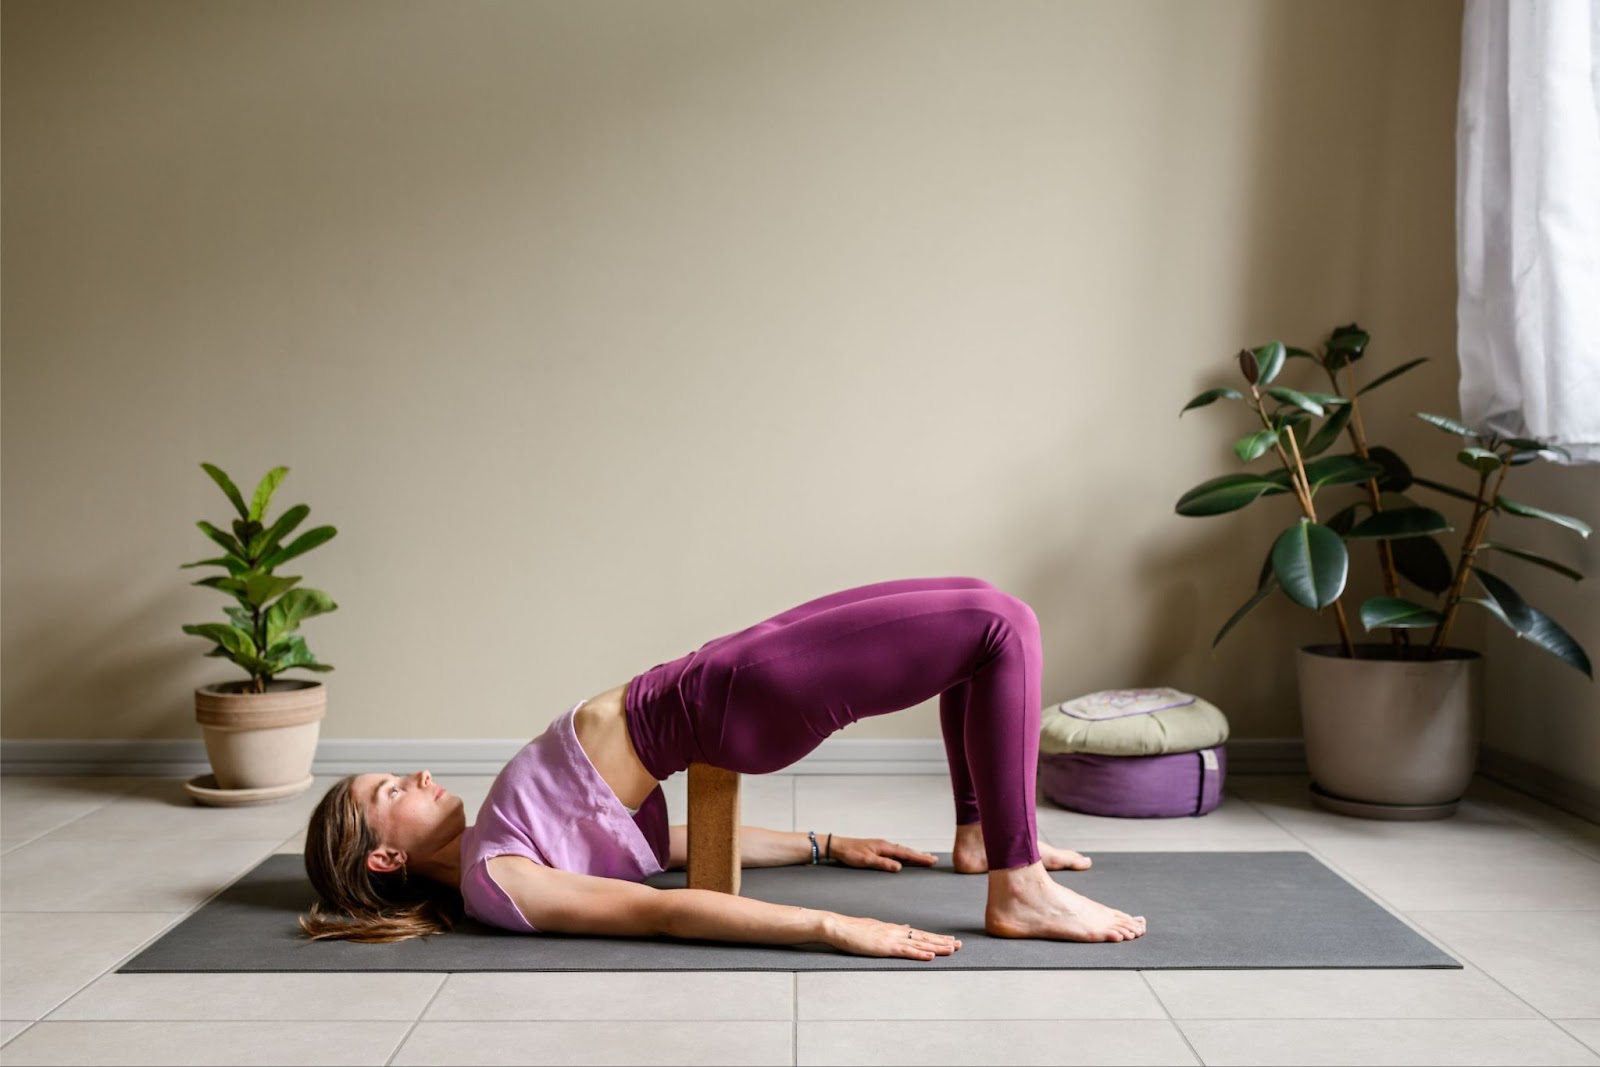
While the asana strengthens your upper back muscles, it also gives a nice shape to your thighs and buttocks. The asana counteracts the effects of sitting for long hours and repairs the damage done to your posture by slouching continuously. The yoga pose is the best yoga for shoulder and neck pain. Here are the ways to perform the pose:
-
Firstly, start the asana by lying on your back and bending your knees.
-
Bend your elbows until your fingers are pointing to the ceiling.
-
Then, lift your hips upward by putting some pressure on your feet and shoulders.
-
Lift your hips towards the ceiling with your arms resting on the floor.
-
Let the shoulders and feet support your body.
-
Your chest will stretch and your shoulders will feel stronger.
-
After that, stay in the exact posture for 10 to 15 breaths.
-
Finally, roll your spine downward and release the arms.
Also read: 6 Best Yoga Poses for High Blood Pressure
7. Savasana Or Corpse Pose
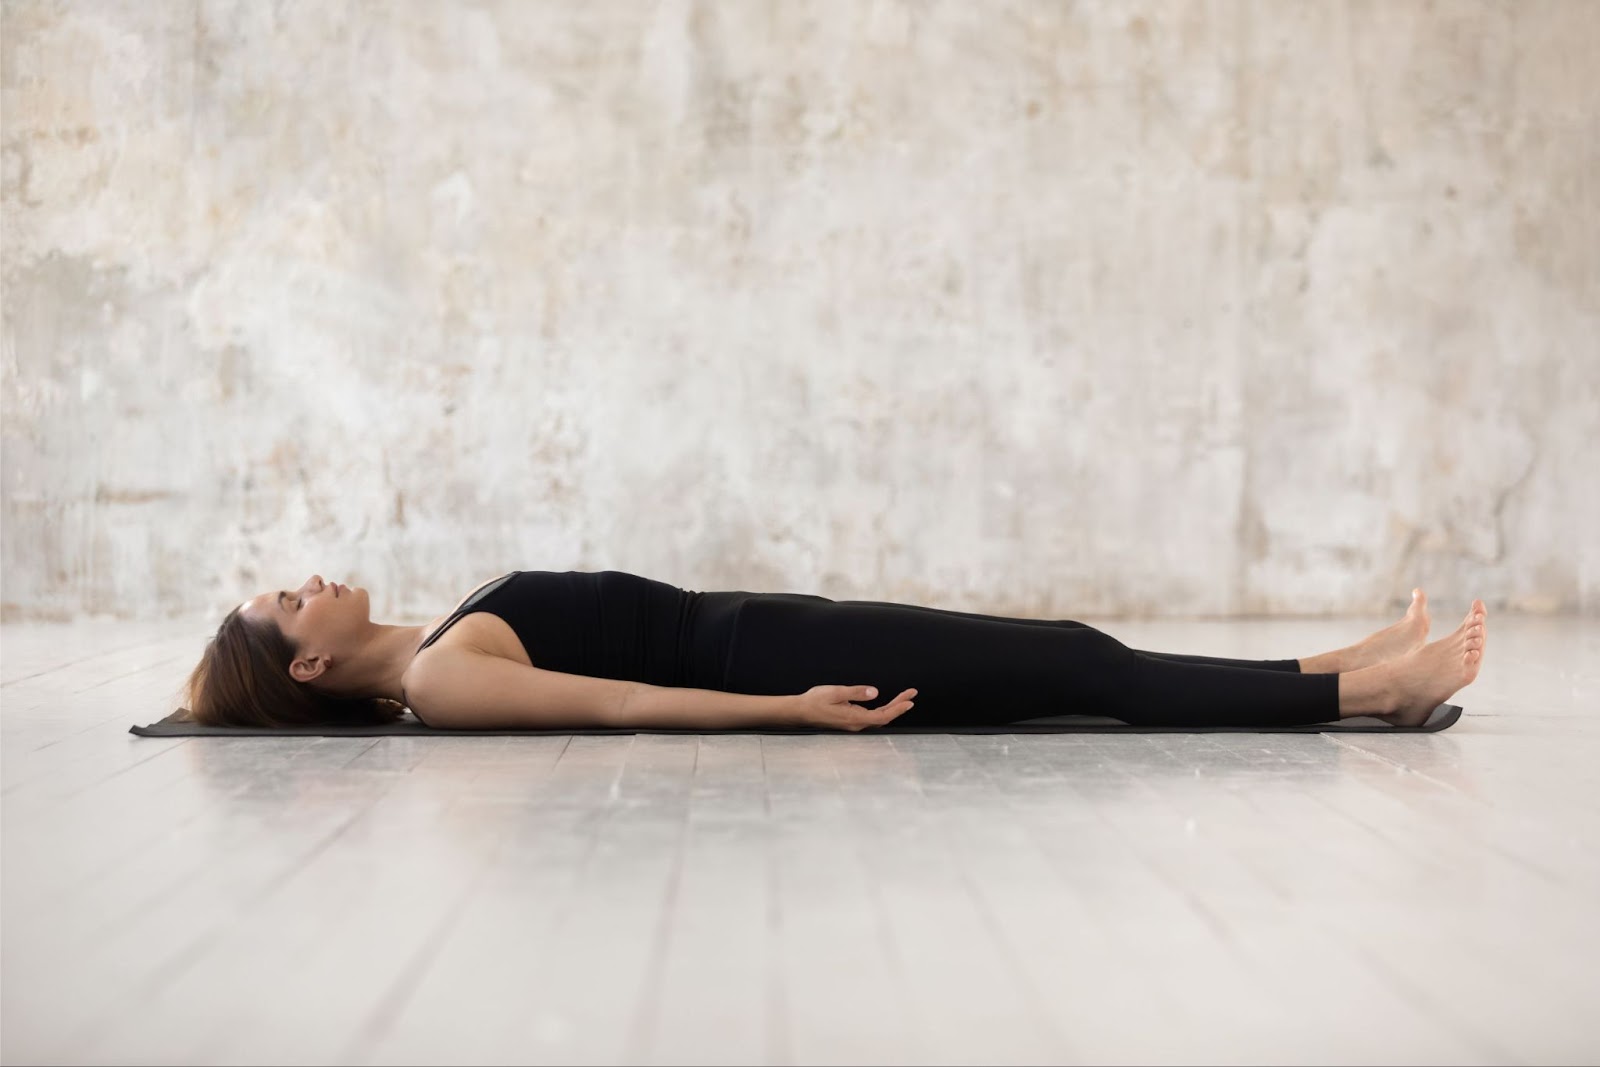
One of the easiest poses, Savasana is the best way to deal with shoulder pain. This pose does not have any age limit and can be performed on your bed. You simply have to lie on the floor and allow your body to relax. Also called Corpse Pose, this asana is true to its name. The asana allows you to relax your body and focus on deep breathing. Your arms simply remain by your side and enable you to let go of the stress that could be trapped in the upper body.
-
Hold your legs straight and separate them.
-
After that, put your arms beside your body separated from the torso.
-
Ensure that, your palms are facing upward and support your back by tucking your shoulder blades beneath you.
-
Relax your body and face. Normalize the breathing process.
-
After that, close your eyes and pay attention to your breath.
-
Maintain the posture for 5 to 10 minutes.
-
Then, stretch your whole body and roll over to one side.
-
Finally, sit back and relax.
8. Bitilasana Or Cow Pose
The pose gets its name from the stretched cow position that a practitioner assumes. The spine gets a nice stretch which is extremely beneficial for shoulder joints. Doing this asana every day for 5 minutes will correct your posture for 5 days.
-
To perform this asana, arch your back and lift your tailbone.
-
Then, get to the tabletop position.
-
Ensure that your wrists are under the shoulders and knees under the hips.
-
After that, press your fingers on the mat and spread them.
-
Inhale and tilt your pelvis upward while dropping your belly down on the floor.
-
Then, get back to the tabletop position while exhaling.
9. Neck Rolls
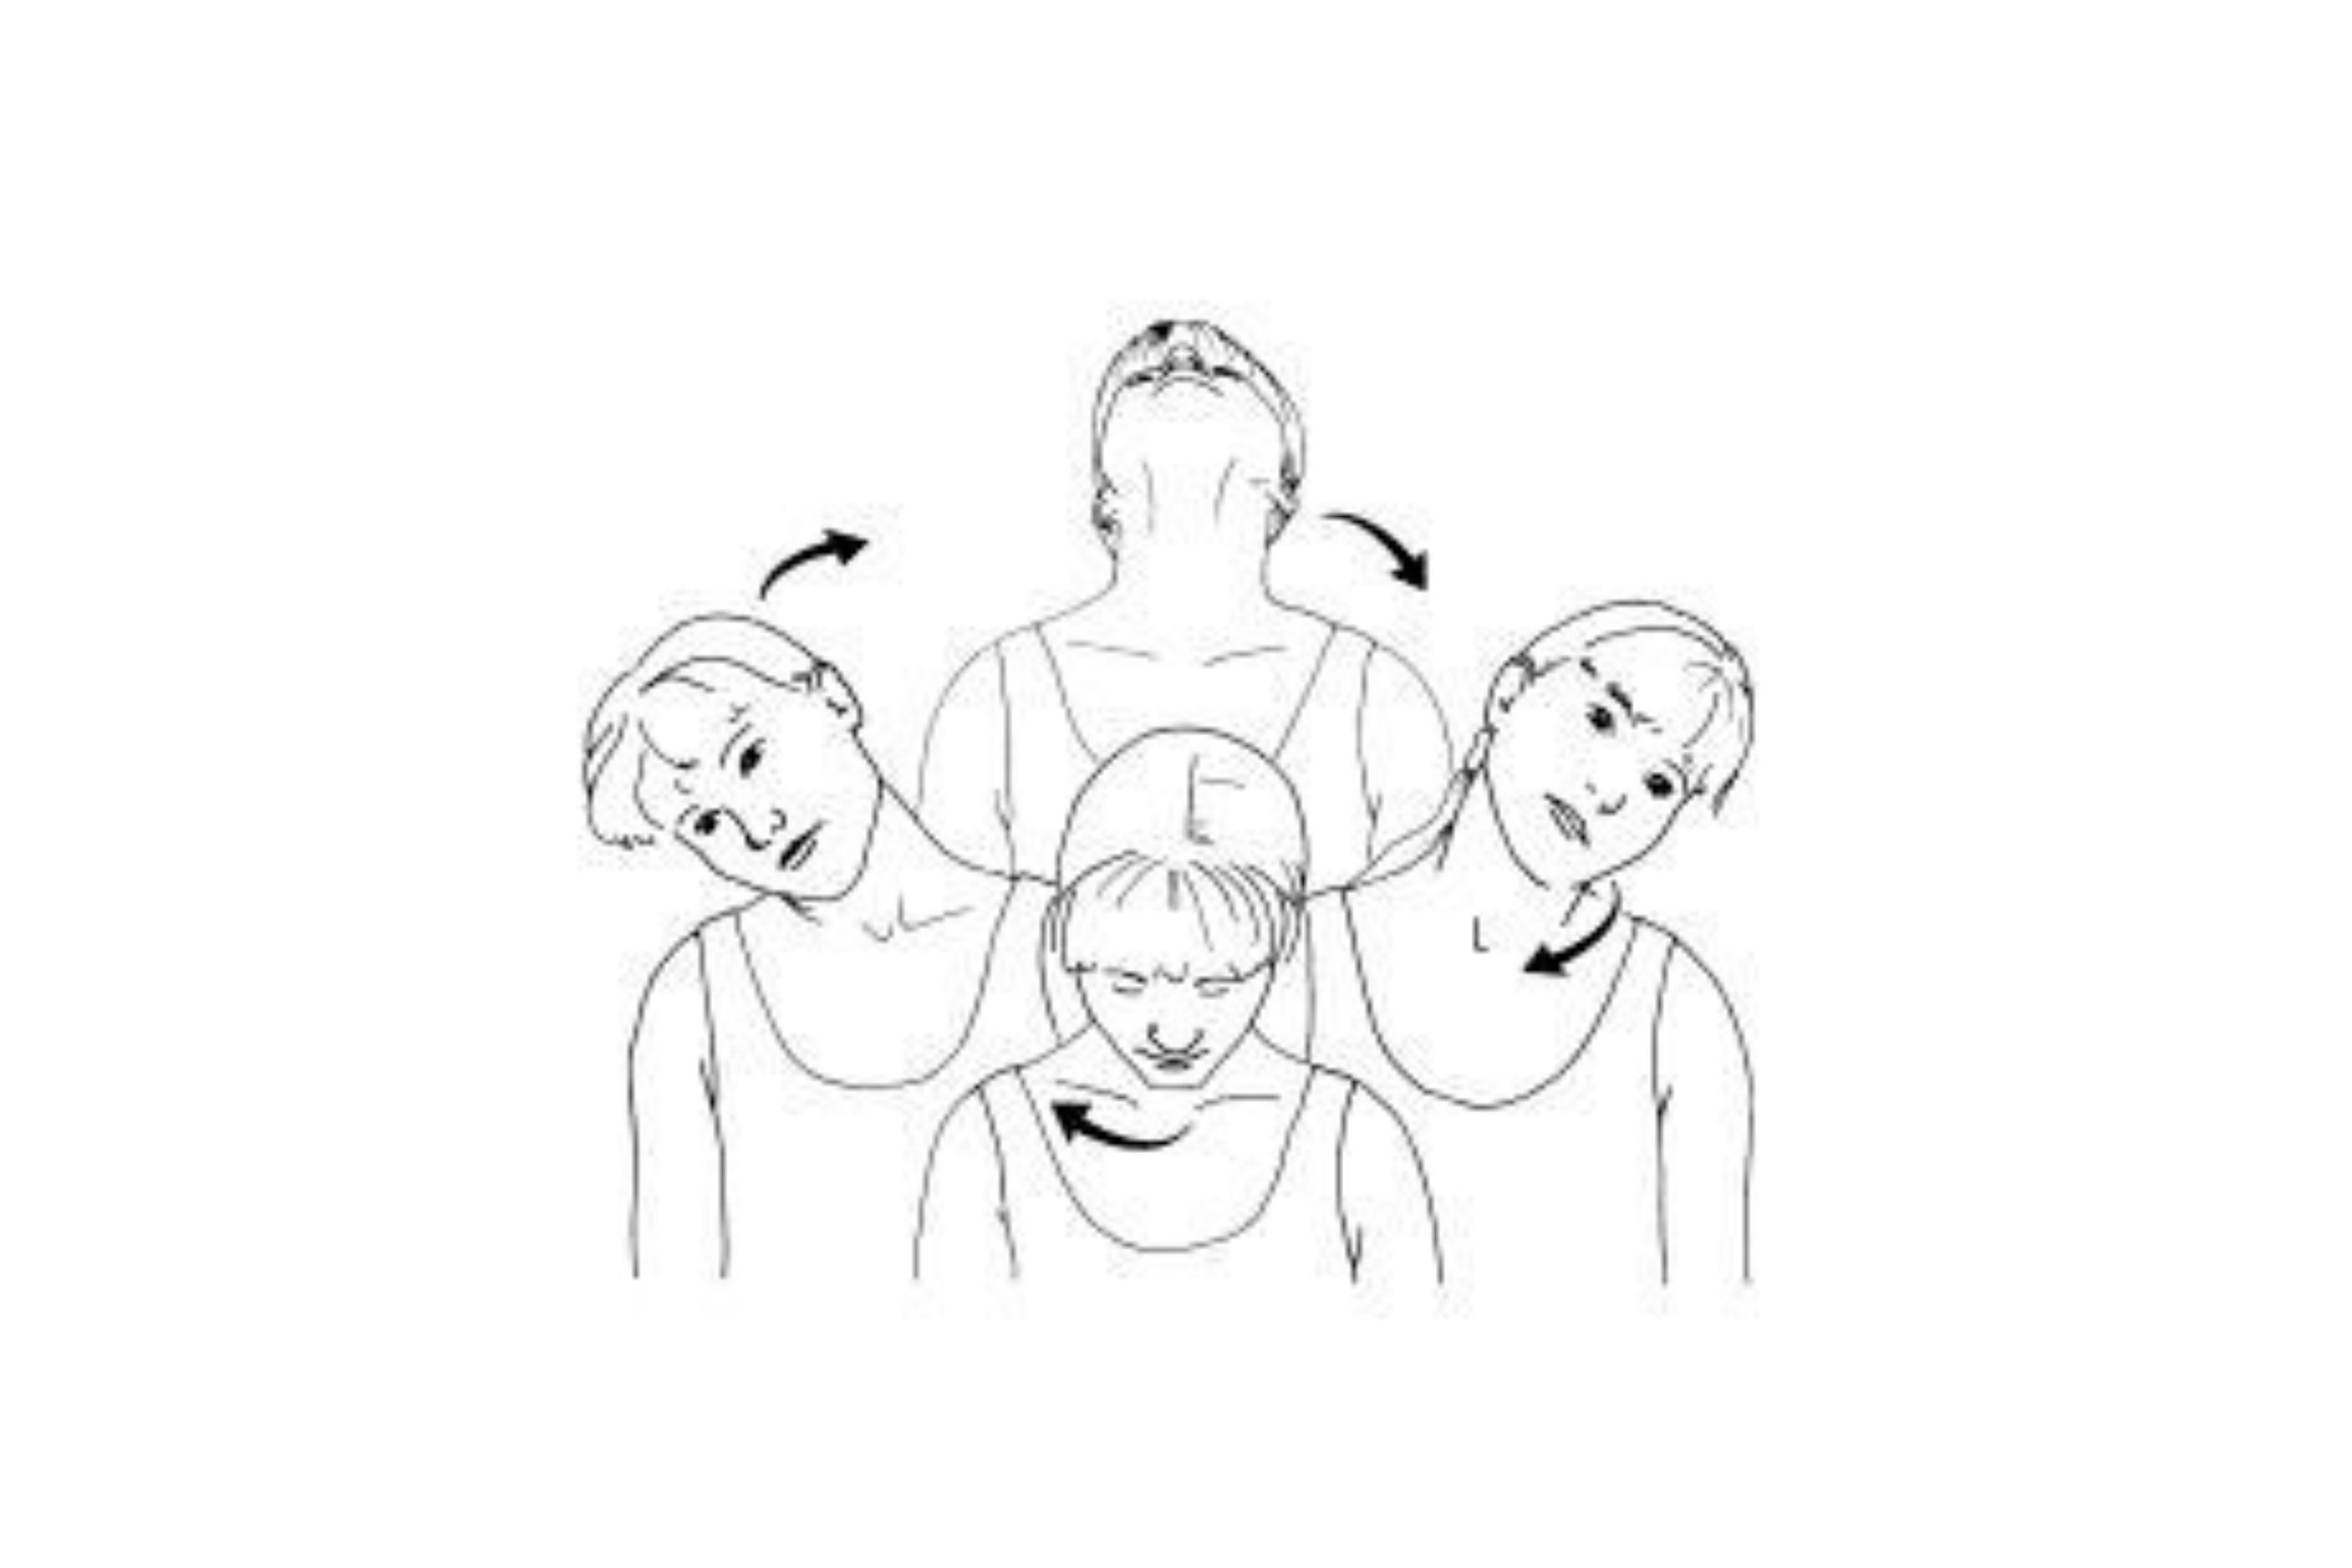
This exercise can be done easily while you are sitting in your office chair. For those who stare at the screen for hours, take a few seconds off. Sit in a comfortable position and start rolling your head to the right until your ear touches the shoulder. Repeat the same exercise with your left ear 5 times. You will notice the difference instantly.
-
Before you start, remember to not make any sudden movements.
-
Sit straight and keep your head facing straight.
-
Then slowly rotate it clockwise and anti-clockwise position with your ears touching the shoulders.
-
Roll your head to one side then backward, then to the other side, and finally to the front.
-
After that, you will return to the starting position.
-
Finally, repeat the same process in the other direction.
10. Warrior Pose Or Virabhadra Asana
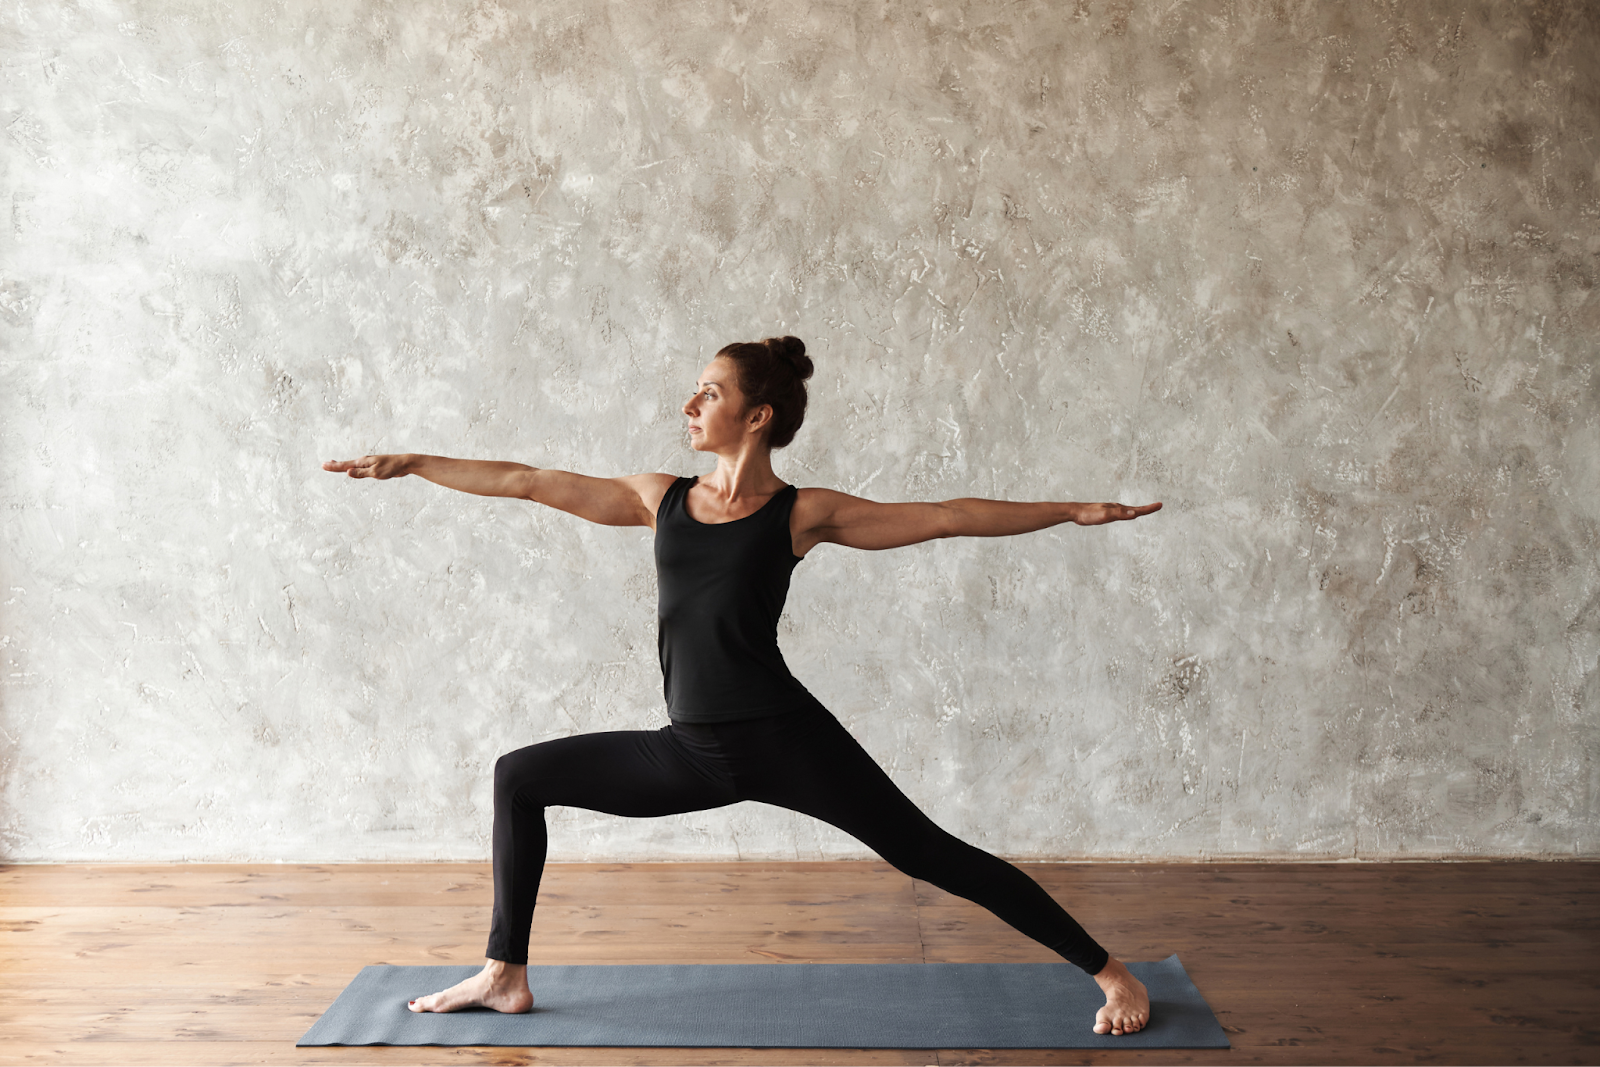
The warrior pose involves stretching your legs and arms. The arms are pointed in opposite directions which causes the chest and shoulders to release. This also forces your neck to stand upright organically making you feel better instantly. Virbhadra Yoga for shoulder pain is one of the most effective ways of easing pain and stiffness. You can try different types of Warrior poses to relax your shoulders and neck.
-
To perform this pose, stand with your legs apart.
-
With one foot facing ahead and the second one turned outward.
-
Then, stretch your arms in opposite directions.
-
Slowly, your arms will get steady and your neck and shoulders will gain more strength.
Conclusion
Yoga for shoulder pain or neck pain is one of the most common joint problems that people in their 30s face. For those who are facing aches and pains, stretching exercises are necessary. However, yoga practitioners also suggest correcting posture and improving habits. For instance, people sitting for long hours in front of a screen can experience such pain. Yoga for shoulder blade pain can be triggered by sleeping in the wrong position and can be avoided by improving your daily habits.
Yoga teacher training courses are a great way to learn yoga and its benefits. You will learn about different yoga forms and get a certificate after successful completion. We will help you reduce your injury and pain. Join us to learn centuries-old yoga practices.